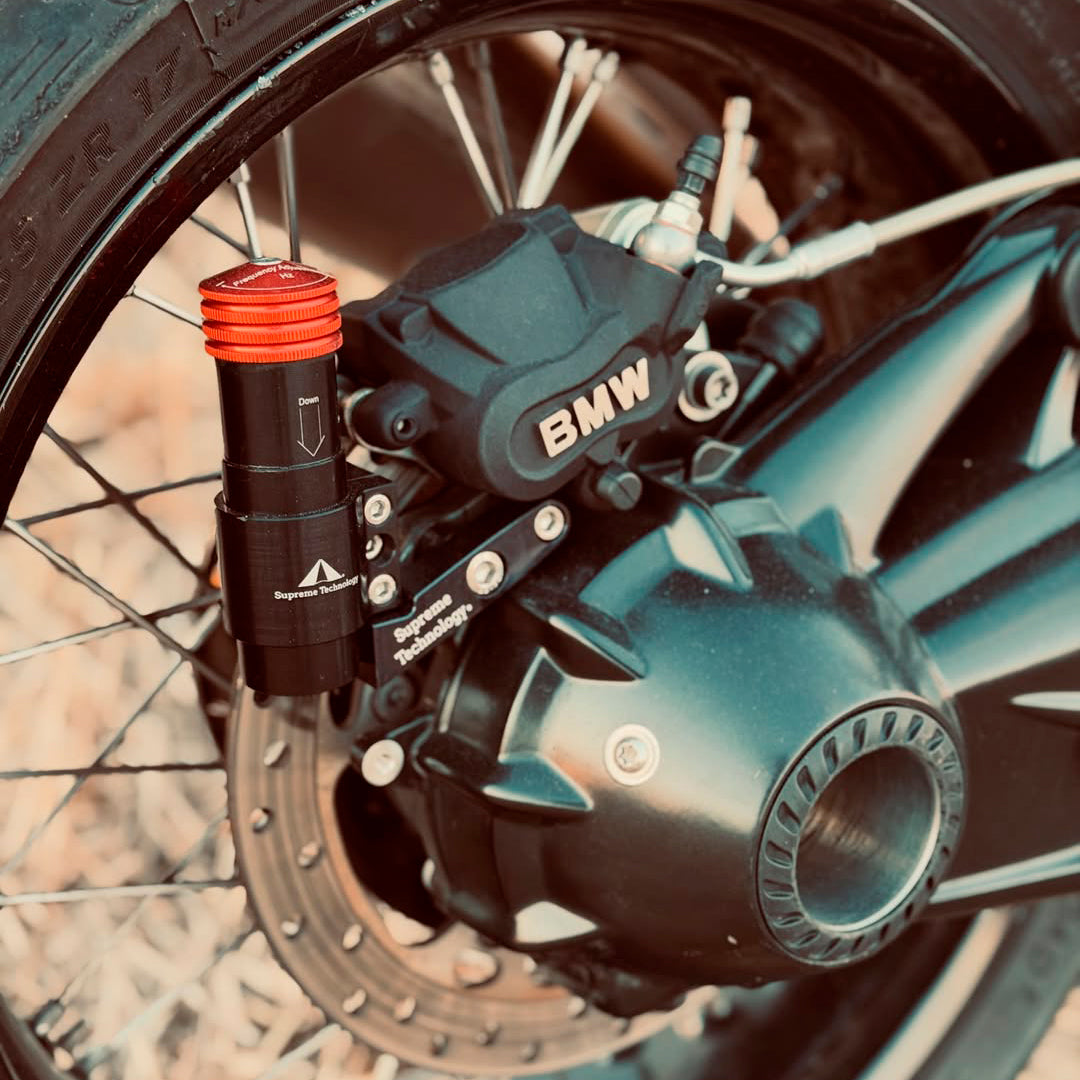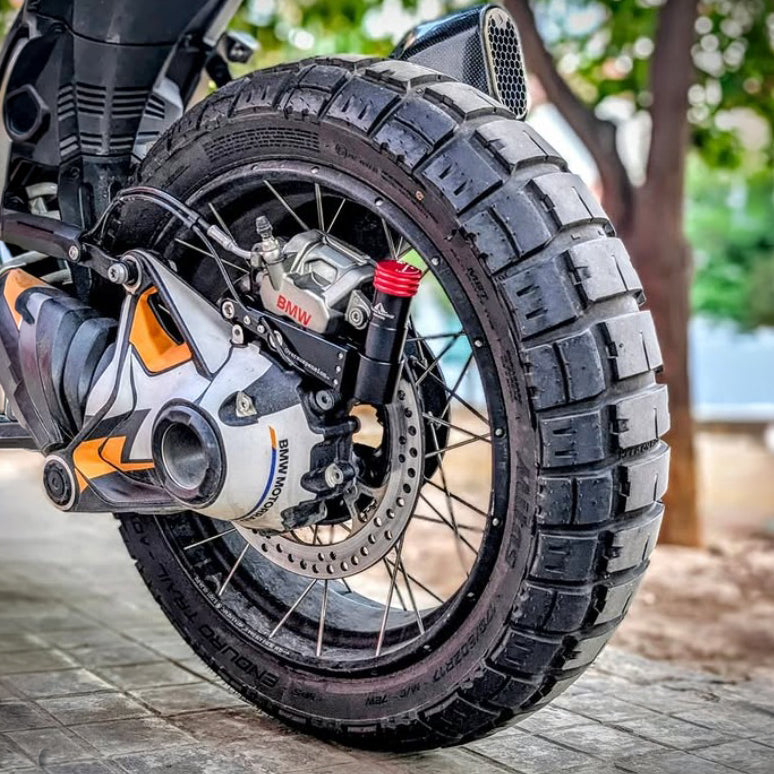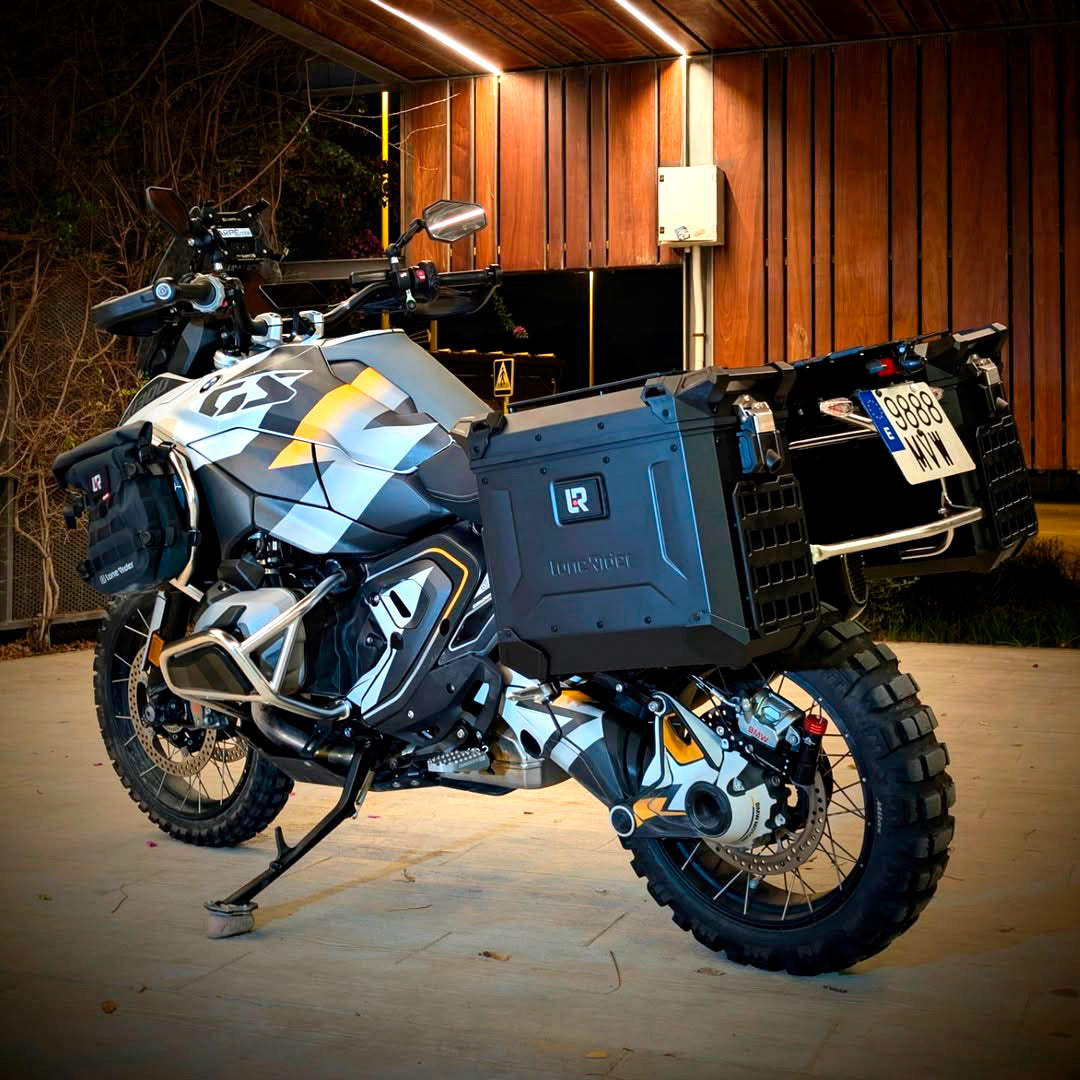


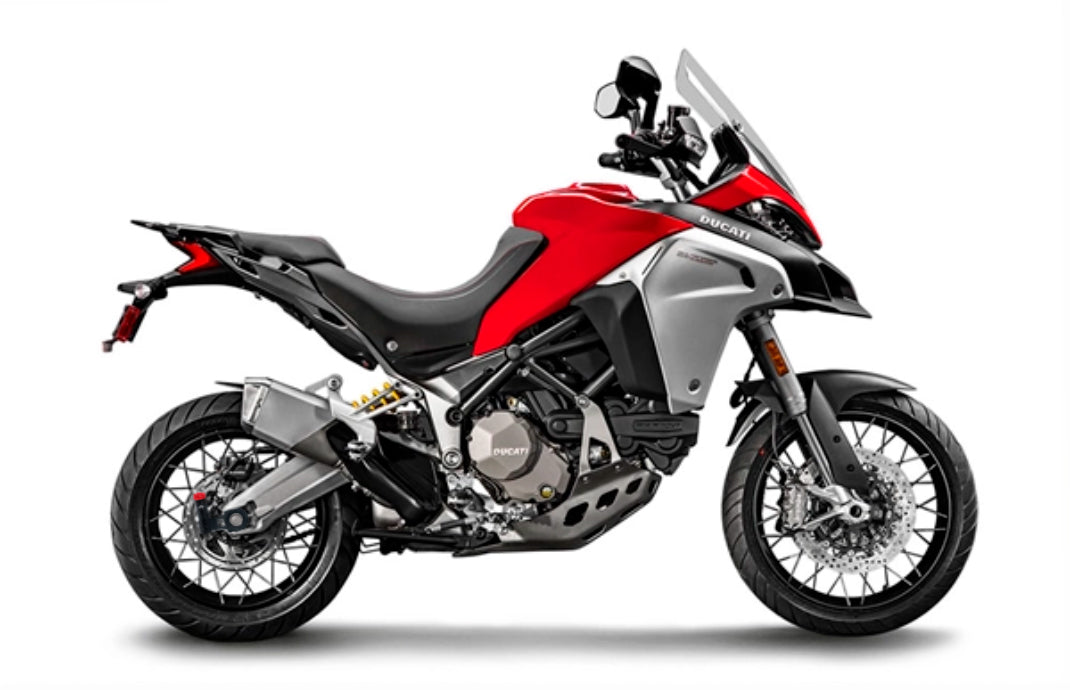
MAXI TRAIL
More traction on acceleration
Shorter and more controlled braking
improves ABS performance
Less work for electronics
-90% highside crashes
Reduces your fatigue and tension
Tire saving
...
free returns

lifetime warranty

try it for 93 days

payment in installments

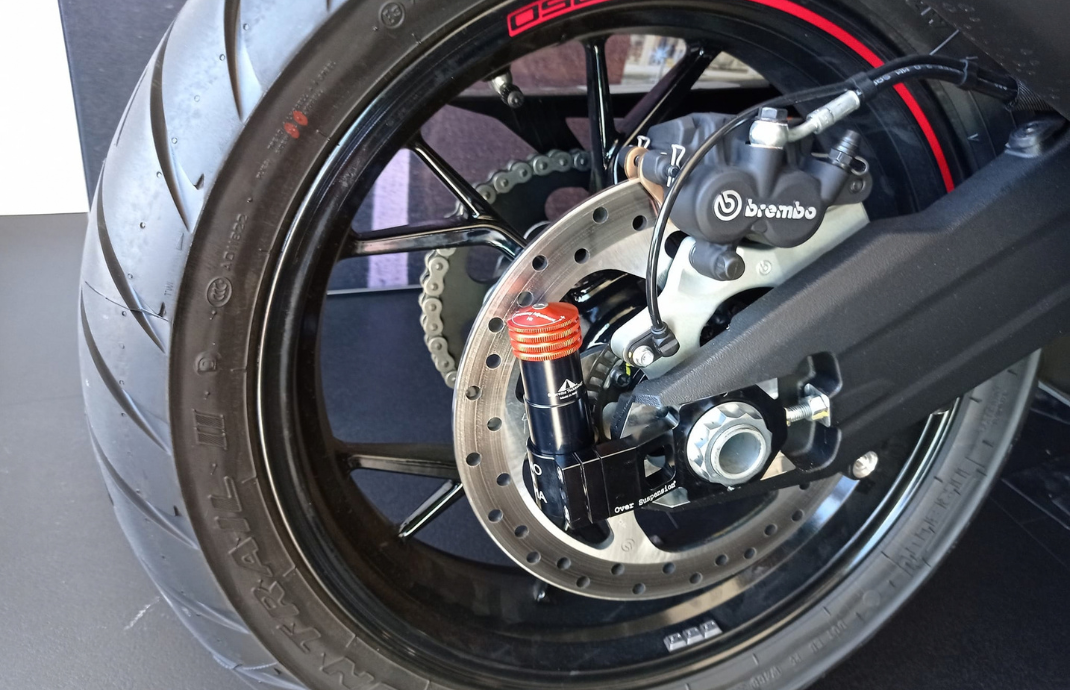
how oversuspension works
The mass collects the elastic energy from the tire.
The spring stores that energy.
The energy is released by pushing the wheel towards the ground.
up to 35 times/second
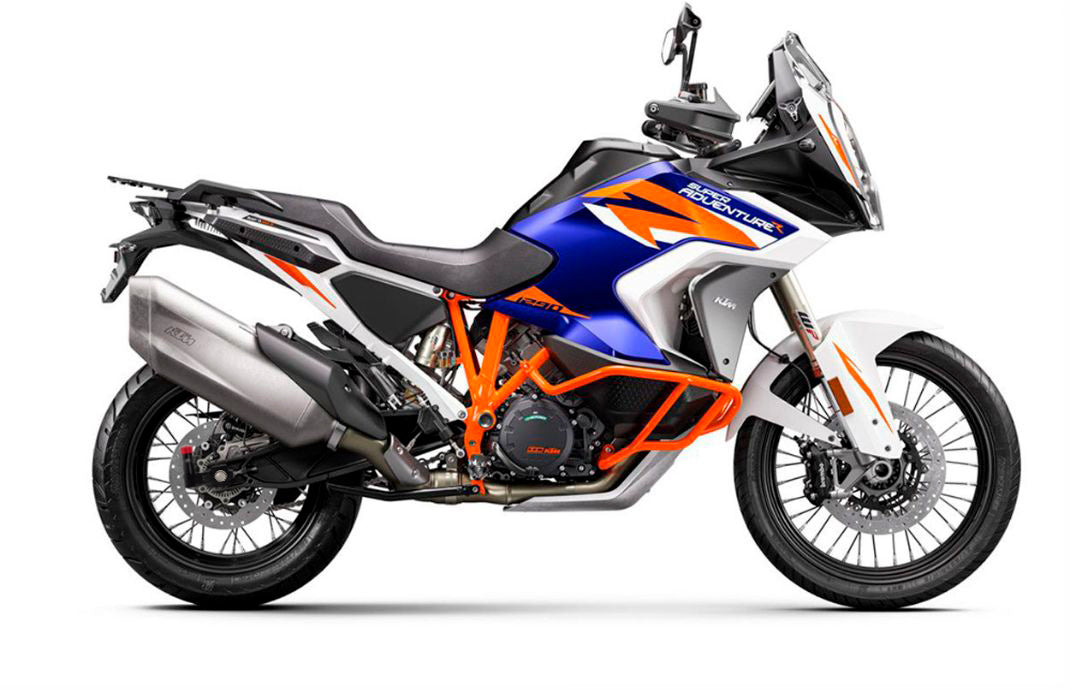
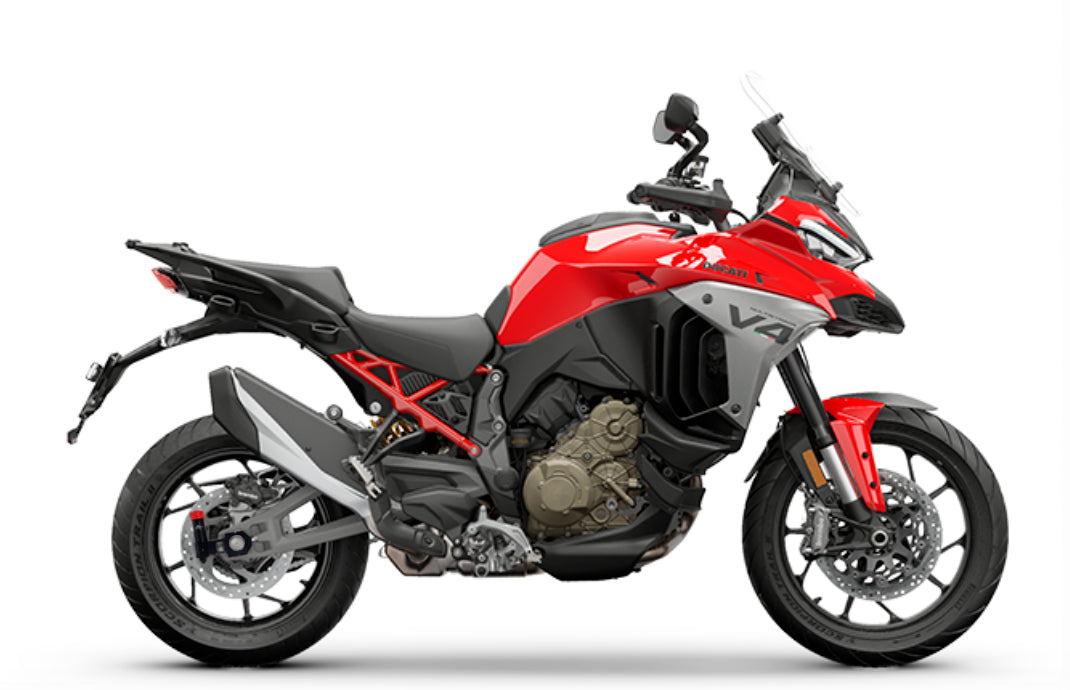
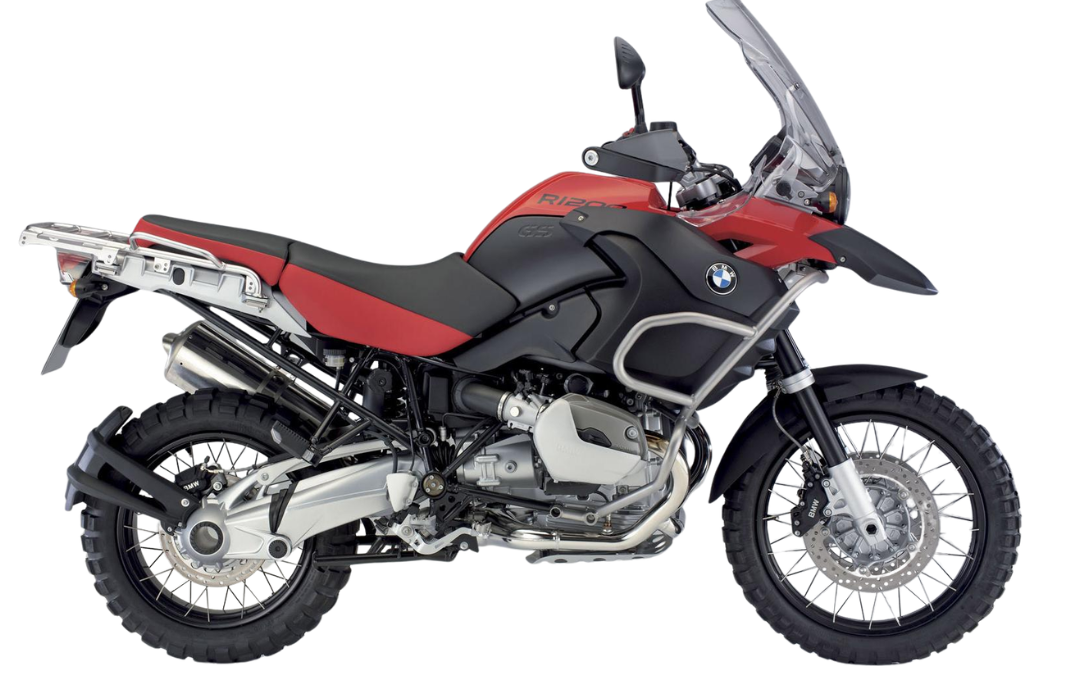
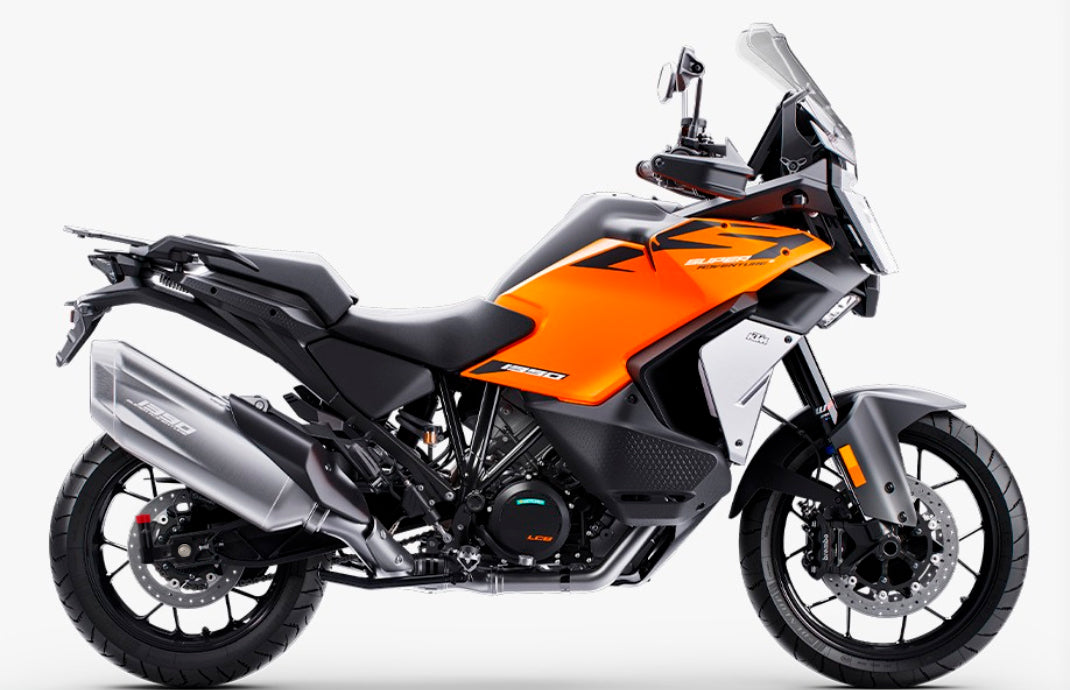
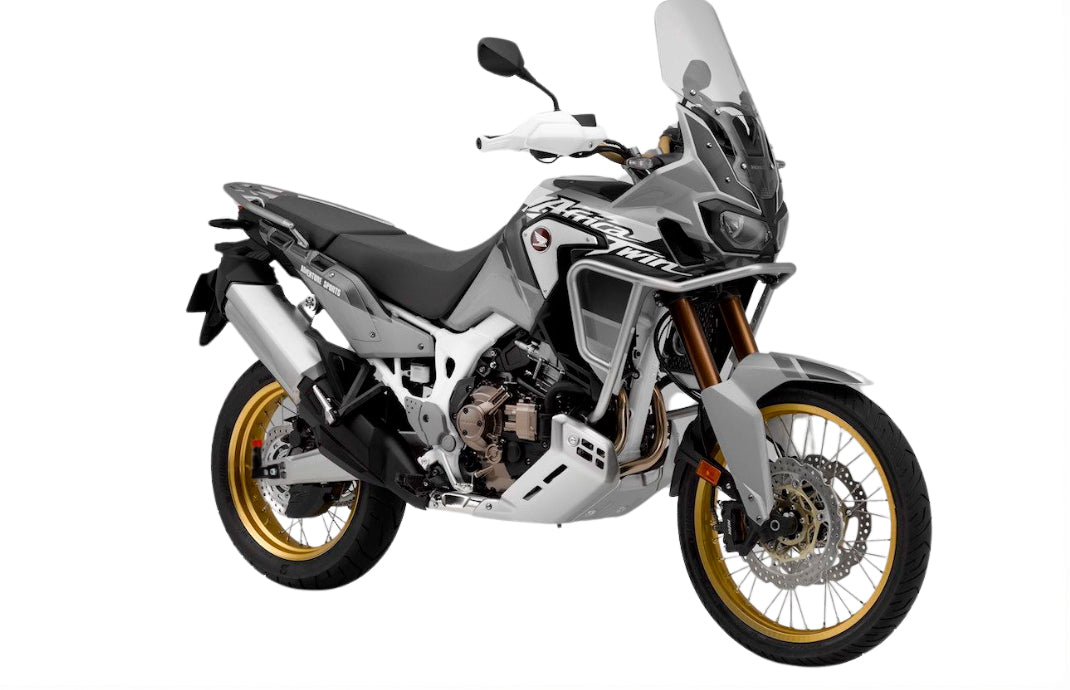
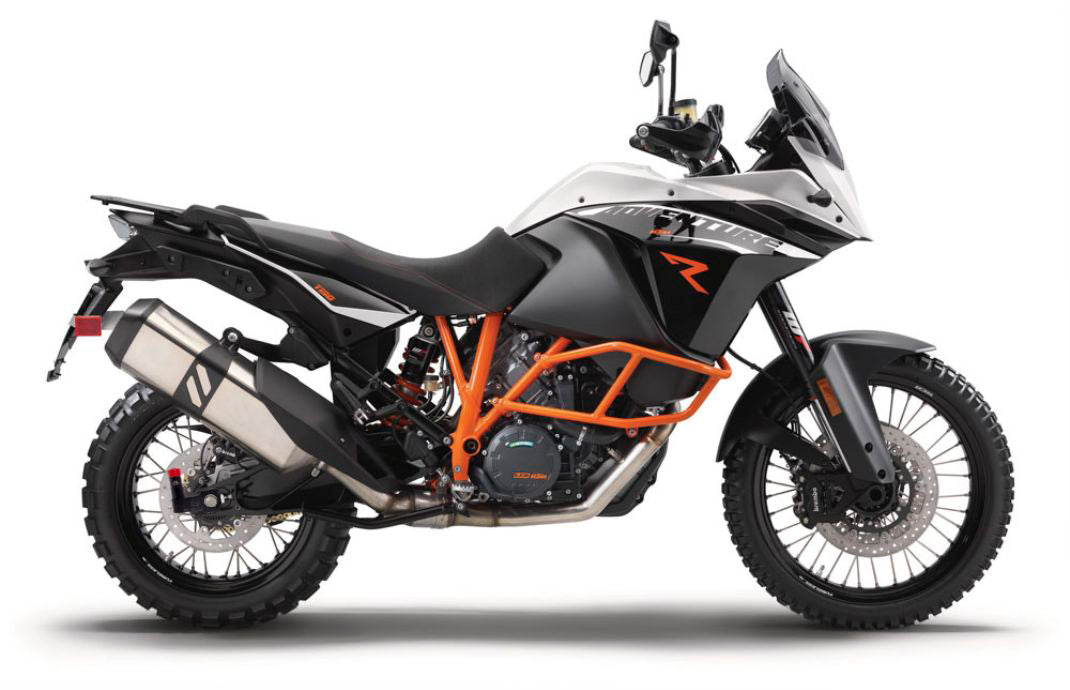
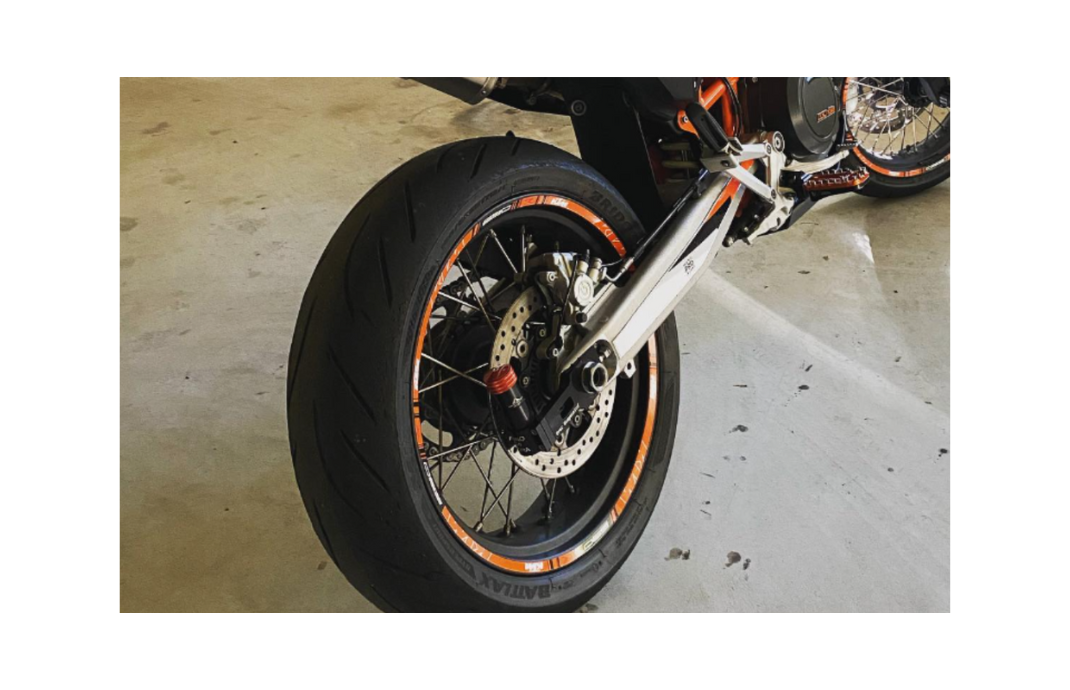
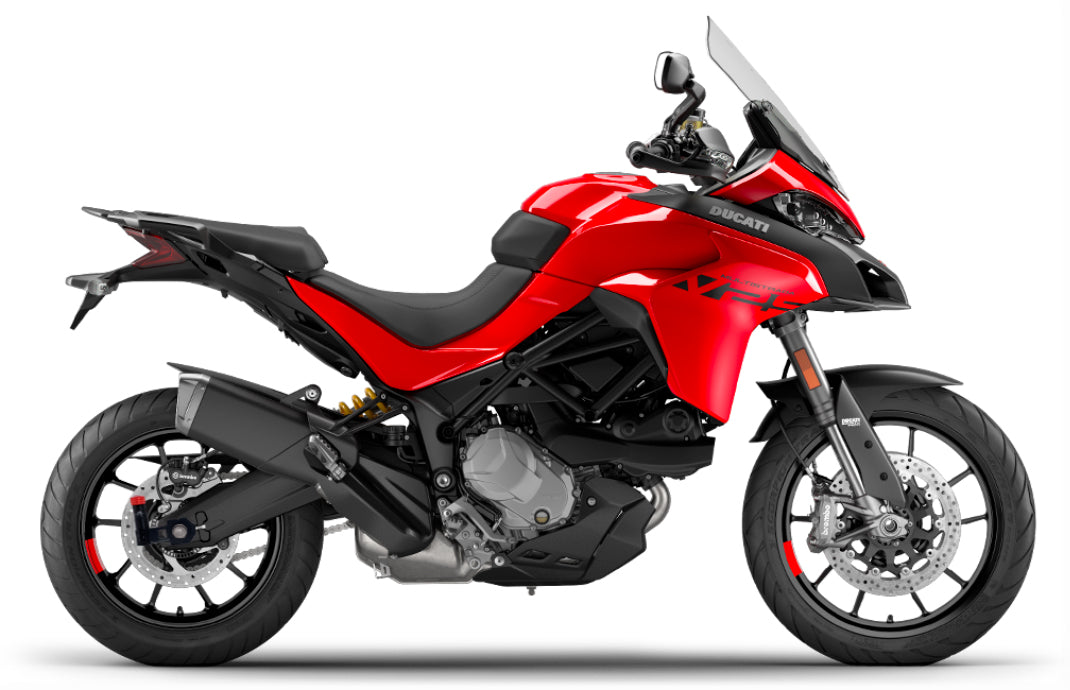
AVAILABLE MAXITRAIL BRANDS





"As motorcyclists, we seek pleasure in riding, and the confidence generated by the Oversuspension device, combined with good tires, maximizes that pleasure.
Lines come naturally, braking is delayed with confidence and security – ultimately, everything we all look for."

DO YOU NEED HELP?
FREQUENTLY ASKED QUESTIONS
OVERSUSPENSION is the first and only device in the world that controls tire bounce, thus exponentially increasing safety while riding and significantly improving your motorcycle's handling.
A motorcycle's shock absorber only manages the elasticity of the chassis with the rest of the rear end.
Oversuspension manages the elasticity of your tire with the swingarm.
We are talking about two separate elastic entities that work at different frequencies:
- A shock absorber averages 1.2 cycles/second.
- Oversuspension averages 18 cycles/second.
If I control the elasticity of the tire, I reduce the system's disorder.
With Oversuspension installed on your motorcycle, you will enjoy more traction, better braking, reduced riding fatigue, and less tire wear.
40% increase in traction
90% reduction in highside falls
60% reduction in aquaplaning effect
30% reduction in musculoskeletal fatigue
We recommend that the Oversuspension kit be installed by a specialized workshop.
If you click on the following link, you can view the Oversuspension kit installation manual for road motorcycles:
https://oversuspension.es/pages/manual-instalacion-kit-oversuspension-moto-carretera
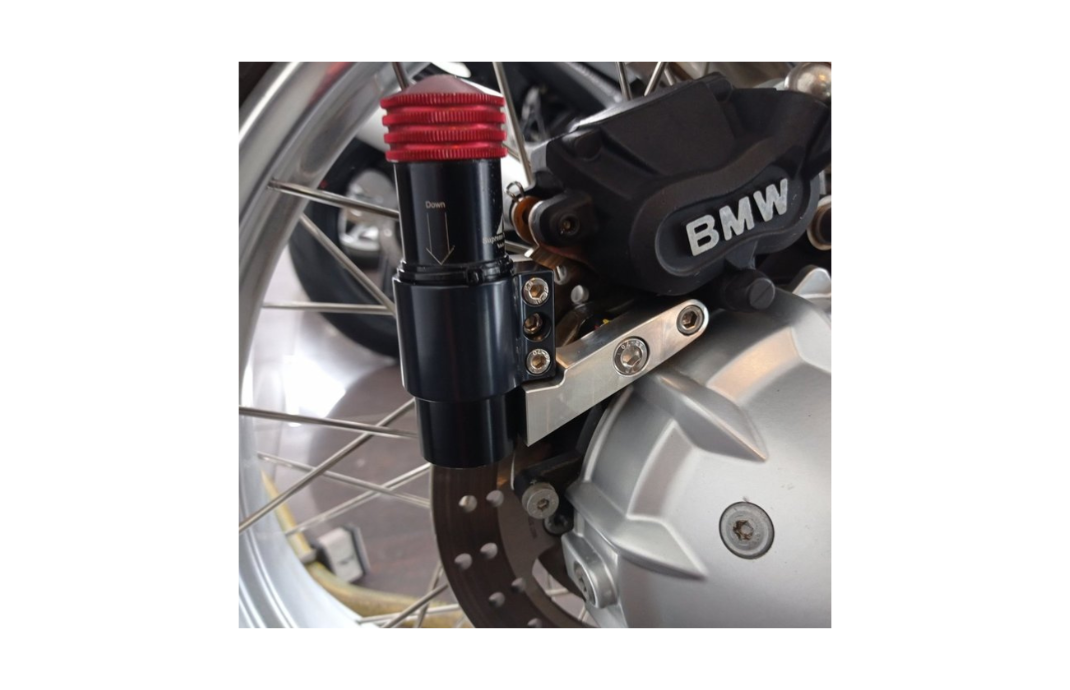
If your motorcycle is off-road, you can view the installation manual at the following link: https://oversuspension.es/pages/manual-de-instalacion-bmw-monobrazo
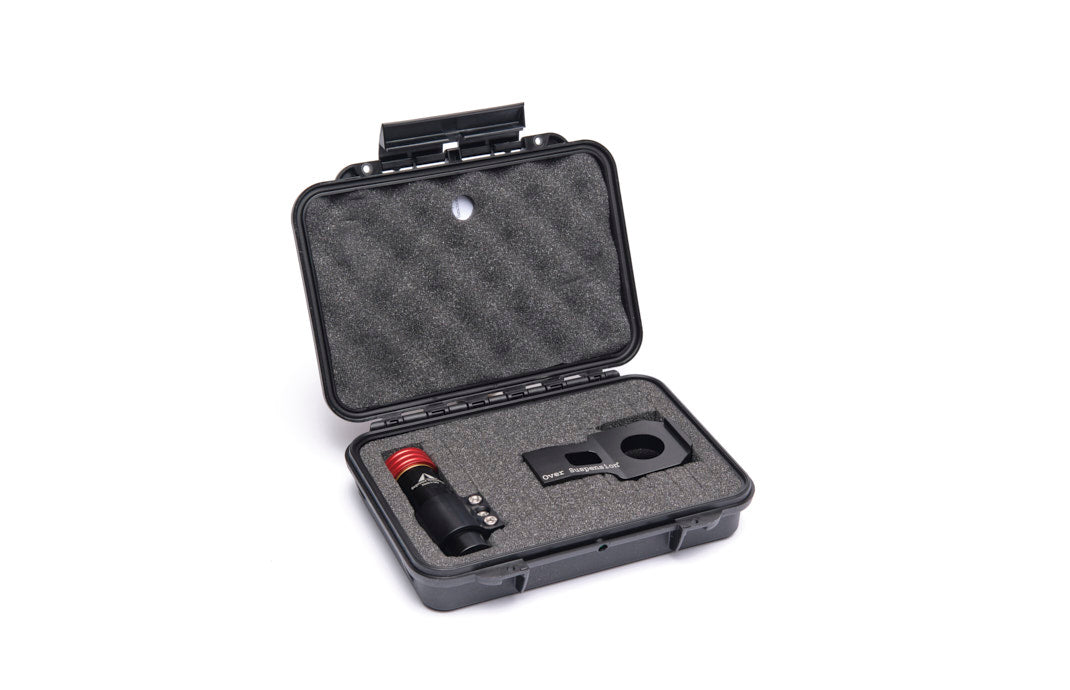
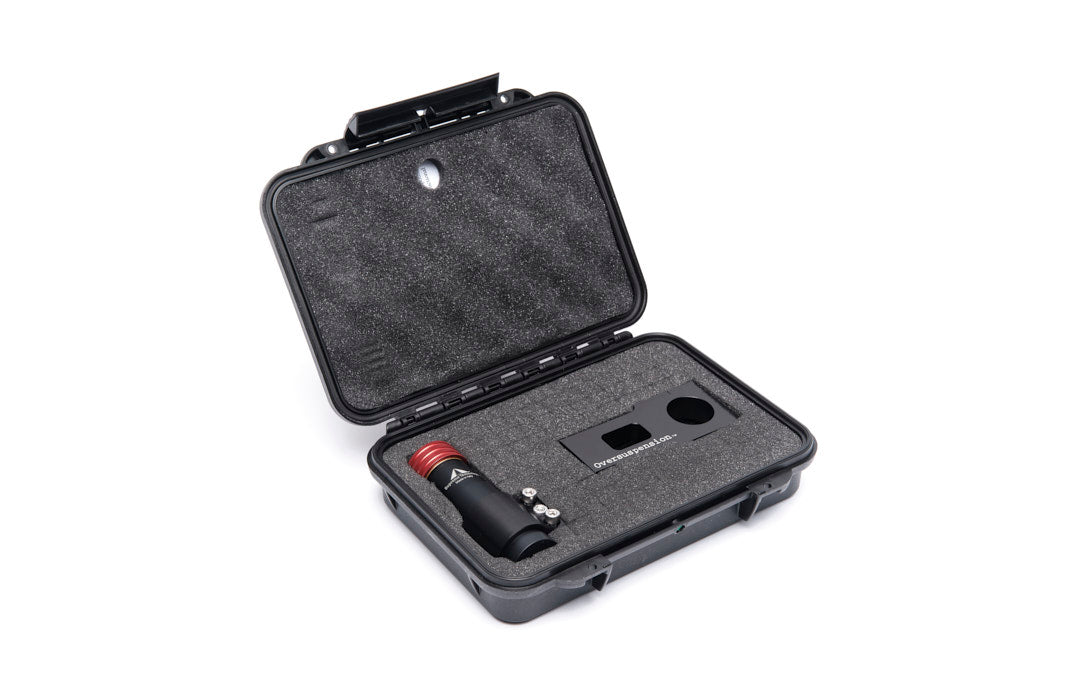
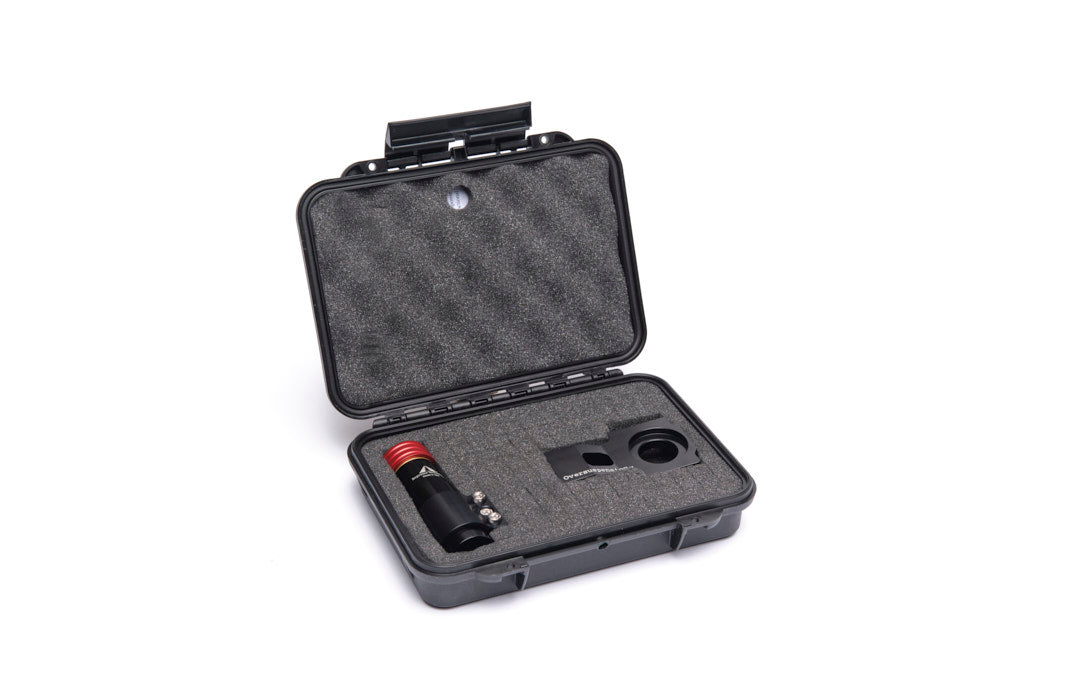
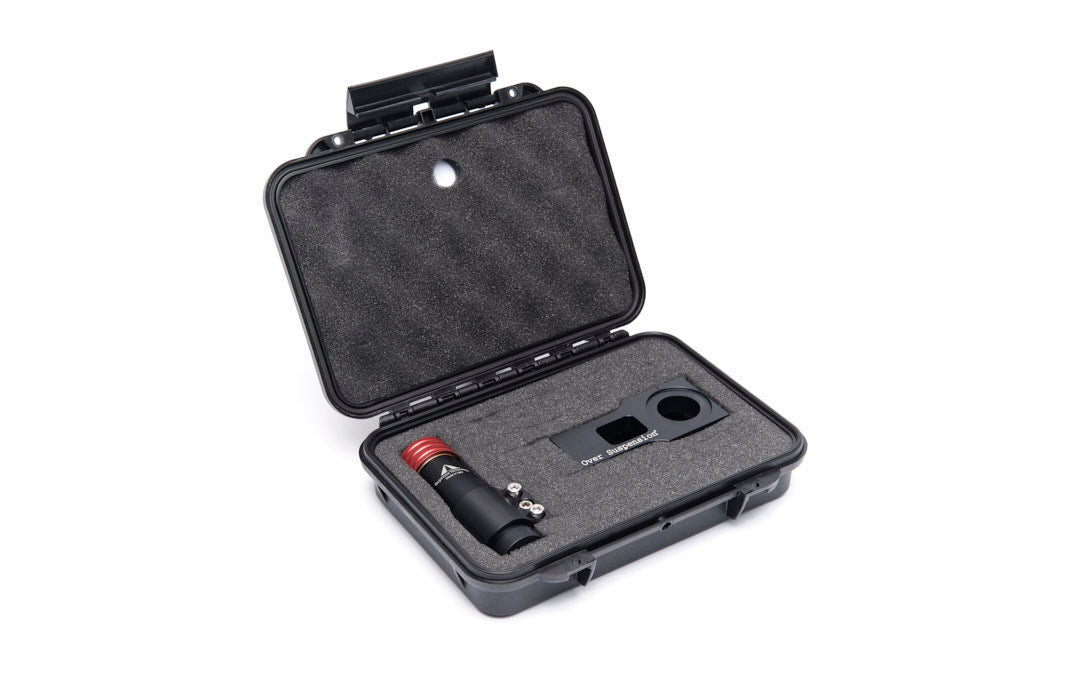
Oversuspension is a high-tech mechanical component.
It consists of a movable central core made of heavy metal, a tungsten alloy that slides in a bushing with ballistic technology.
An aerospace-grade spring pushes this mass against a special polymer that changes its structure depending on the force with which it is compressed.
The impact energy pushes the wheel against the ground, up to 35 times in a single second.
By integrating our vibrational technology with an electronic suspension system, the amount of information the ECU needs to manage is reduced, which optimizes its response and improves the overall efficiency of the suspension system.
Furthermore, our system also optimizes other electronically managed components such as the ABS, reducing its workload and allowing it to operate more precisely and efficiently.
Un uncontrolled tire rebound generates vibrations that end up in your motorcycle's transmissions and gears.
The use of Oversuspension in Cardan-type transmissions minimizes wear on microgears, known as pitting. Avoid costly breakdowns.
The Oversuspension device can be adjusted depending on use, terrain type, and weather conditions.
The following adjustment scheme always refers to the device from fully open, towards the + sign.
ADJUSTMENT FOR 24-CLICK DEVICE
The adjustment for using the device in MOTOCROSS is as follows:
- On a sandy track, the device should be kept fully open, i.e., towards the + position. This way, the spring preload on the mass will be minimal and will adapt better to sandy tracks.
- On a muddy track, always keep the device fully open towards the + position.
- On a hard, dry track with shallow bumps, close the device 4 clicks towards the - position.
- On a hard, dry track with deep bumps, close the device 8 clicks towards the - position.
- On a Super Cross type track, close the device 6 clicks towards the - position.
The adjustment for using the device in ENDURO is as follows:
- On a timed track, close 2 clicks towards the - sign.
- On a slippery track and surface, leave it fully open towards the + sign.
- For Trial Cross: close 4 clicks towards the - sign.
The adjustment for using the device on a RACE TRACK is as follows:
- In wet conditions (WET), the device should be left completely open towards the + sign.
- On a dry track with undulating surface, close 4 clicks towards the - sign.
- On a dry track with a smooth surface, adjust all settings open towards the + sign.
The adjustment for using the device on
MAXI-TRAIL is as follows:
- Wet road: completely open towards the + sign.
- Uneven trail: close 4 clicks towards the - sign.
- With passenger: add 6 clicks to the previous settings.
The adjustment for using the device on the ROAD is as follows:
- In the rain, fully open to the + sign, even with a passenger.
- On a dry road, close 2 clicks towards the - sign.
- On a dry road, with a passenger, close 4 clicks towards the - sign.
- On a dry road, with luggage and a passenger, close 8 clicks towards the - sign.
The adjustment for the RALLY version is as follows:
- This only refers to the specific Rally kit version.
- In the Desert, close 2 clicks towards the - sign.
- In the Desert with rocks and many bumps, close 6 clicks towards the - sign.
ADJUSTMENT FOR 18-CLICK DEVICE
The adjustment for using the device in MOTOCROSS is as follows:
- On a sandy track, the device should be kept fully open, i.e., towards the + position. This way, the spring preload on the mass will be minimal and will adapt better to sandy tracks.
- On a muddy track, always keep the device fully open towards the + position.
- On a hard, dry track with shallow bumps, close the device 2 clicks towards the - position.
- On a hard, dry track with deep bumps, close the device 5 clicks towards the - position.
- On a Super Cross type track, close the device 4 clicks towards the - position.
The adjustment for using the device in ENDURO is as follows:
- On a timed track, close 1 click towards the - sign.
- On a slippery track and surface, leave it fully open towards the + sign.
- For Trial Cross: close 2 clicks towards the - sign.
The adjustment for using the device on a RACE TRACK is as follows:
- In wet conditions (WET), the device should be left completely open towards the + sign.
- On a dry track with undulating surface, close 2 clicks towards the - sign.
- On a dry track with a smooth surface, adjust all settings open towards the + sign.
The adjustment for using the device on
MAXI-TRAIL is as follows:
- Wet road: completely open towards the + sign.
- Uneven trail: close 2 clicks towards the - sign.
- With passenger: add 4 clicks to the previous settings.
The adjustment for using the device on the ROAD is as follows:
- In the rain, fully open to the + sign, even with a passenger.
- On a dry road, close 1 click towards the - sign.
- On a dry road, with a passenger, close 2 clicks towards the - sign.
- On a dry road, with luggage and a passenger, close 5 clicks towards the - sign.
The adjustment for the RALLY version is as follows:
- This only refers to the specific Rally kit version.
- In the Desert, close 1 click towards the - sign.
- In the Desert with rocks and many bumps, close 4 clicks towards the - sign.
ADJUSTMENT FOR 12-CLICK DEVICE
The adjustment for using the device in MOTOCROSS is as follows:
- On a sandy track, the device should be kept fully open, i.e., towards the + position. This way, the spring preload on the mass will be minimal and will adapt better to sandy tracks.
- On a muddy track, always keep the device fully open towards the + position.
- On a hard, dry track with shallow bumps, close the device 2 clicks towards the - position.
- On a hard, dry track with deep bumps, close the device 4 clicks towards the - position.
- On a Super Cross type track, close the device 3 clicks towards the - position.
The adjustment for using the device in ENDURO is as follows:
- On a timed track, close 1 click towards the - sign.
- On a slippery track and surface, leave it fully open towards the + sign.
- For Trial Cross: close 2 clicks towards the - sign.
The adjustment for using the device on a RACE TRACK is as follows:
- In wet conditions (WET), the device should be left completely open towards the + sign.
- On a dry track with undulating surface, close 2 clicks towards the - sign.
- On a dry track with a smooth surface, adjust all settings open towards the + sign.
The adjustment for using the device on
MAXI-TRAIL is as follows:
- Wet road: completely open towards the + sign.
- Uneven trail: close 2 clicks towards the - sign.
- With passenger: add 3 clicks to the previous settings.
The adjustment for using the device on the ROAD is as follows:
- In the rain, fully open to the + sign, even with a passenger.
- On a dry road, close 1 click towards the - sign.
- On a dry road, with a passenger, close 2 clicks towards the - sign.
- On a dry road, with luggage and a passenger, close 4 clicks towards the - sign.
The adjustment for the RALLY version is as follows:
- This only refers to the specific Rally kit version.
- In the Desert, close 1 click towards the - sign.
- In the Desert with rocks and many bumps, close 3 clicks towards the - sign.
Being a mechanical device, without oils or greases, the Oversuspension device requires no maintenance.
You only need to pay attention to the regular cleaning of your motorcycle.
We periodically recommend checking the tightening torques of the fastening screws.
Unlike the mass damper, which has one mass and two springs that encompass it, the Oversuspension device is a mass that strikes a special polymer.
The operation of the Oversuspension device is guaranteed for life.
The high quality of our materials and the precision of our manufacturing processes allow us to offer this guarantee.
The warranty does not cover:
- Loss, fire, or theft.
- Aesthetic damage such as scratches, dents, color variations, or wear and tear from use
- Improper handling or incorrect installation of the device.
- Unauthorized modifications.
You will receive your order at the provided address within: Spain: 24 hours-12 business days, Europe: 7-15 business days, International: 15-20 business days.
We ship to all the following countries:
Spain, Portugal, Andorra, Bulgaria, Croatia, Cyprus, Czechia, Denmark, Estonia, Finland, Germany, Greece, Hungary, Ireland, Latvia, Lithuania, Luxembourg, Malta, Netherlands, Poland, Romania, Slovakia, Slovenia, Sweden, Italy, Mexico, United States, France, Austria, Belgium, Australia, New Zealand, Anguilla, Malaysia, Norway, Switzerland, Canada, United Kingdom, Antigua and Barbuda, Argentina, Aruba, Bahamas, Barbados, Belize, Bermuda, Bolivia, Brazil, British Virgin Islands, Caribbean Netherlands, Cayman Islands, Chile, Colombia, Cook Islands, Costa Rica, Curaçao, Dominica, Dominican Republic, Ecuador, El Salvador, Falkland Islands, Fiji, French Guiana, Grenada, Guatemala, Guyana, Haiti, Honduras, Jamaica, Kiribati, Martinique, Montserrat, Nauru, Nicaragua, Niue, Norfolk Island, Panama, Paraguay, Peru, Pitcairn Islands, Sint Maarten, Solomon Islands, Saint Barthélemy, Saint Kitts and Nevis, Saint Lucia, Saint Martin, Saint Pierre and Miquelon, Saint Vincent and the Grenadines, Suriname, Timor-Leste, Tokelau, Trinidad and Tobago, Turks and Caicos Islands, Tuvalu, United States Minor Outlying Islands, Uruguay, Venezuela, Wallis and Futuna
If you are not satisfied with the performance of the Oversuspension kit, you have a return period of 93 calendar days from the date of receipt of your order. Return shipping is free.
Blog posts

The price of the rebound: what it costs you in money, in safety, and in your own body
Rear-wheel bounce comes with three invisible costs: wear and tear on tires, drivetrain, and suspension; loss of traction, braking, and stability; and the physical fatigue the vibration leaves in yo...
Read more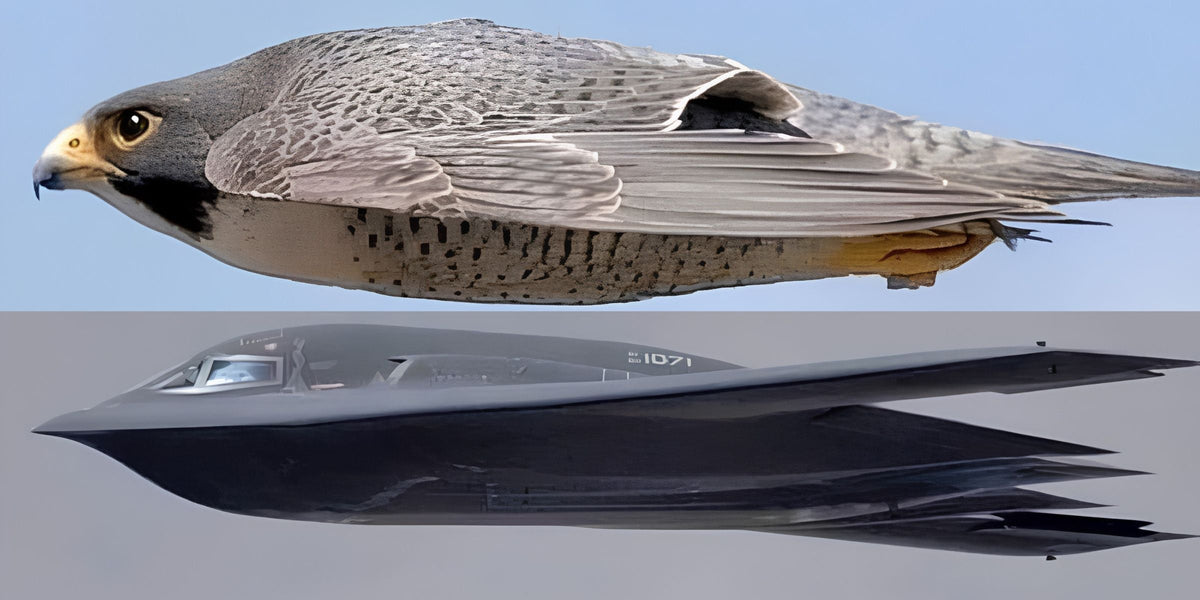
Why did nature solve this before engineering
The peregrine falcon applies aerodynamics it never studied. We explain why physics works whether we understand it or not, and how changing the point of observation solved the tire bounce.
Read more#OVERTHE TOP